
How to install and set up Yoast SEO plugin for WordPress
Yoast SEO is one of the most versatile and compact plugin with many in-built features and options.
Yoast SEO plugin is a must-have for every website. This amazing plugin will help you to put your post, pages, and articles in search engines results which in turn will help you to grow your business and connect with more and more people.
Features which are mentioned here are very few if we compare with the overall features of the plugin. Therefore, Install the plugin and start exploring its extraordinary capabilities.
Salient Features
- Post & page wise SEO title and meta description.
- Focus keywords
- The configuration of RSS footer and header
- XML sitemaps with images, Pages, and posts with noindex will be ignored in the sitemap.
- XML news Sitemaps
- Editor for robots.txt and .htaccess
- Verify Google webmaster tool & Yahoo site explorer etc
Install and activate the Yoast SEO plugin from the WordPress dashboard admin account. Plugins à add new. Find Yoast SEO and install it.
After installation, activate the plugin, now you can see a menu item in WordPress admin bar labeled as SEO with Yoast logo.
SEO-General
Dashboard
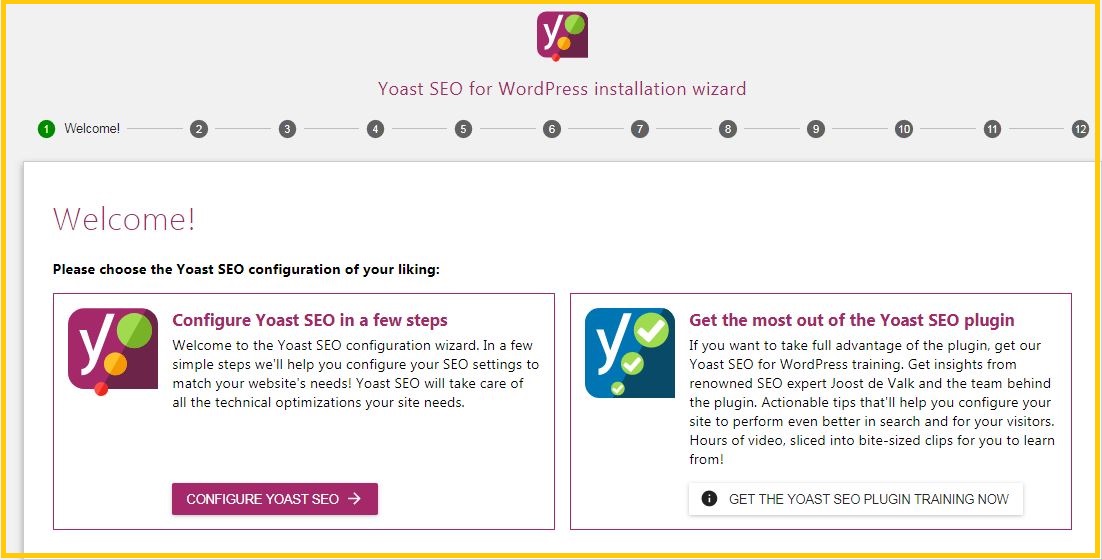
Clicking on the SEO icon takes you to the settings page for the plugin. Click on ‘General’ tab and under Dashboard tab you will notice a link to open configuration wizard.
Click on this and Configure your website in 12 easy steps according to the instruction and desired input required by configuration wizard.
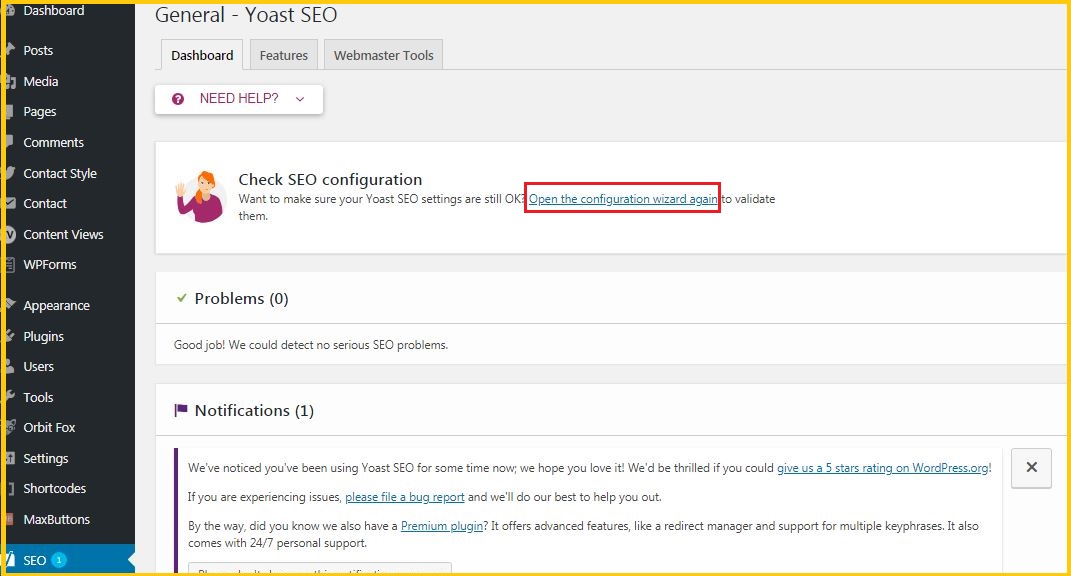
After completing the configuration steps, save it and close the configuration wizard.
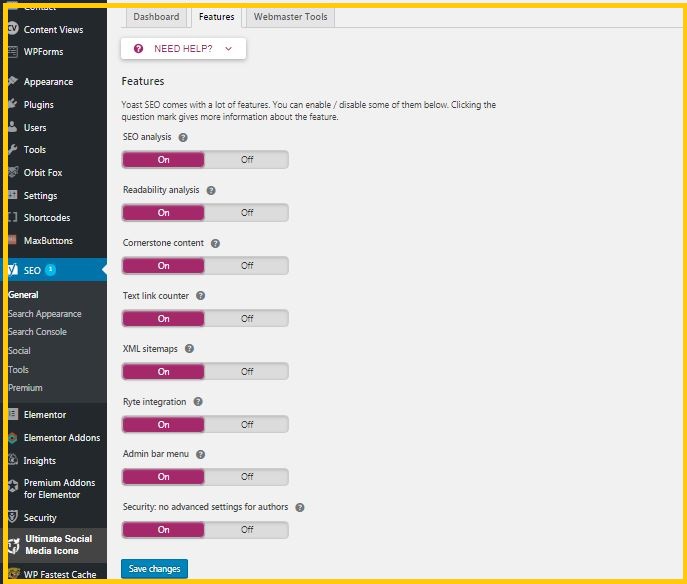
Features
Go to Features and set all the options to on and click on ‘Save Changes’
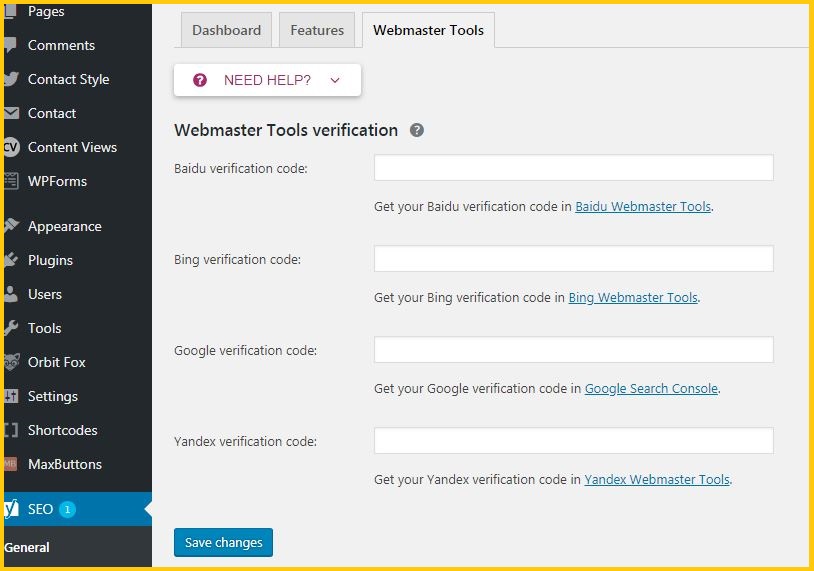
Webmaster Tools
Go to Webmaster tools and enter verification codes for various search engines e.g. Google, Bing and Baidu etc.
SEO-Search appearance

1. General
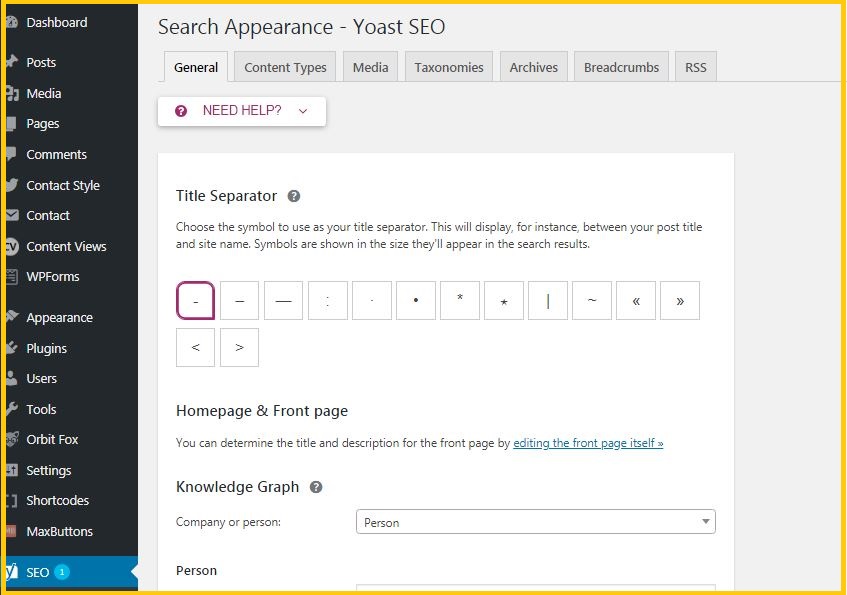
Here you can choose the Title separator and Home Page and Frontpage settings with knowledge graph.
Choose the symbol to use as your title separator. This will display, for instance, between your post title and site name. Symbols are shown in the size they’ll appear in the search results.
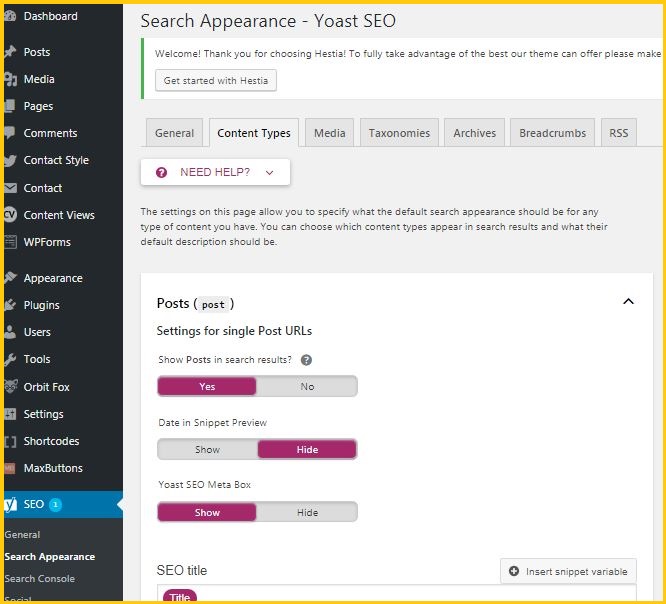
2. Content Types
This setting allows you to specify the default search appearance for any type of content. You can choose which content types will appear in the search results and what will be their default description.
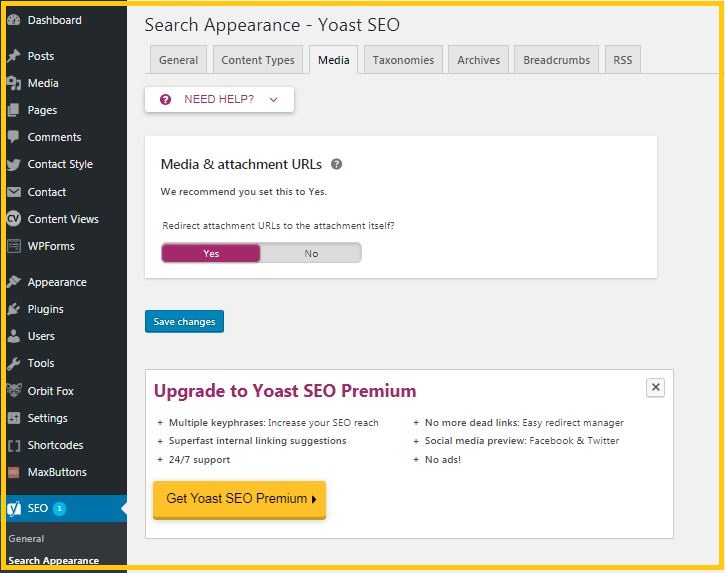
3. Media
When any media file e.g. image or video is uploaded to WordPress, It is not only saving the media file, instead, it creates a URL for this.
It is suggested to set this option to Yes.
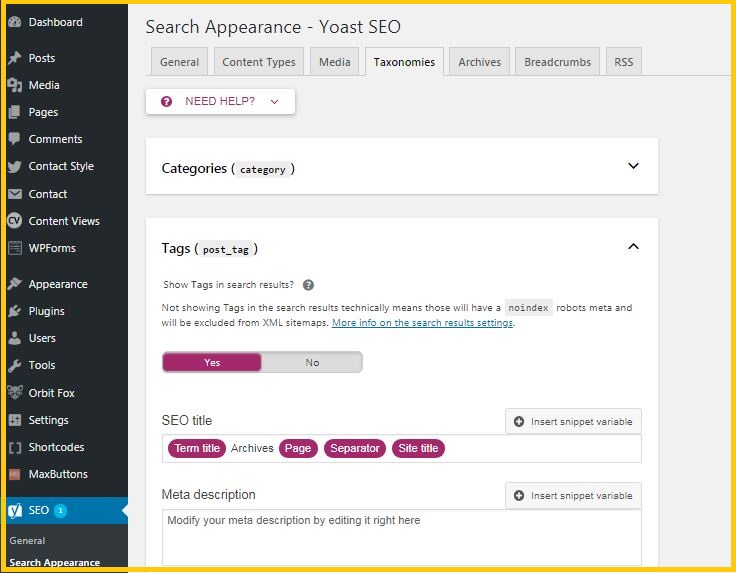
4. Taxonomies
This is for displaying Categories and Tags etc in the search results. Set it to ‘Yes’ if you intend to show categories and tags in search results.
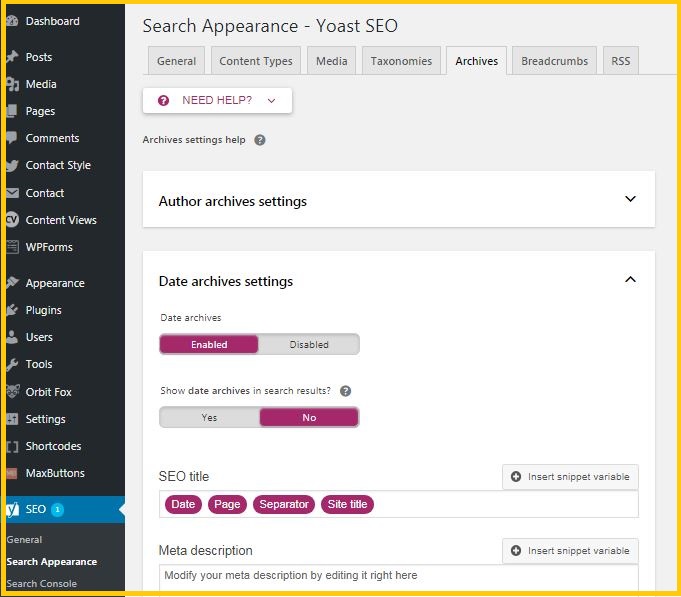
5. Archives
This option is for displaying Author and Date archives in search results. It is recommended to disable author archives for single-author blogs. In case you are running single author blog, then your main blog and the author archives contain exactly the same content. This setting may be done in order to avoid duplicate content.
6. Breadcrumbs
Breadcrumbs are to track path as on which page the user is currently viewing. It will show the complete path from the homepage. These appear at the top of your current page and reflect the overall path of your site. The breadcrumbs also displayed in search results and provide your site the extra edge in the search results.

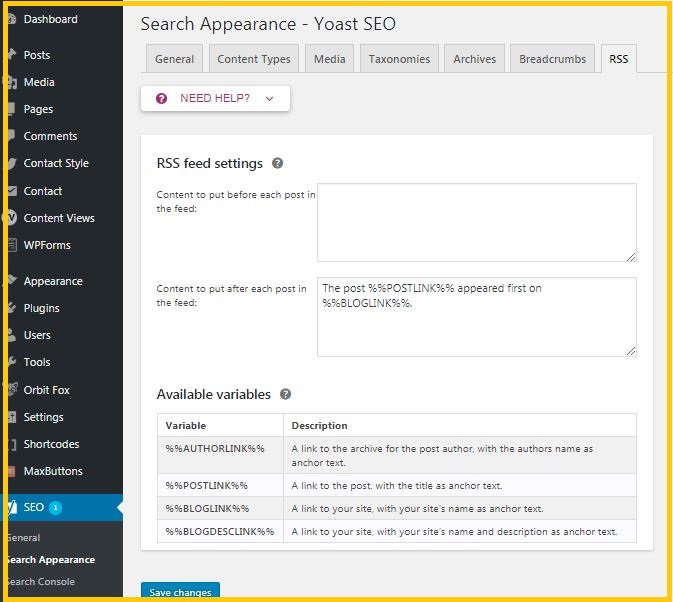
7. RSS
RSS feeds are usually used to copy your content by scrapers from your website. Yoast allows assigning a backlink to your site for each post and page in your RSS feed.
In this manner, you will get a backlink from scrapers website and Google will come to know that you are the original owner of the resource.
In Yoast RSS option you can add your author link, Post link, blog link, and blog description etc. It can also be used to add advertisement in your RSS feed.
SEO-Search Console
In Yoast SEO plugin search console option connects your WordPress website to Google Search Console tools.
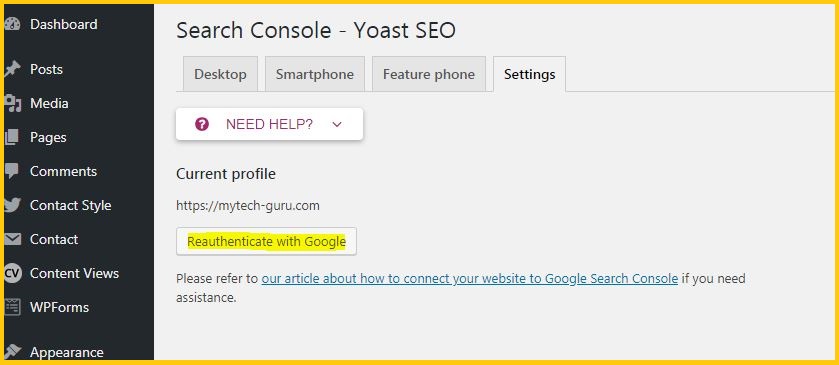
You can add your website to Google Webmaster tools and verify it through the Yoast SEO plugin using Google Authorization code.
After verification Yoast SEO will fetch your Search Console data into WordPress. You will be able to see Desktop, Mobile, Feature Phone tabs on the screen.
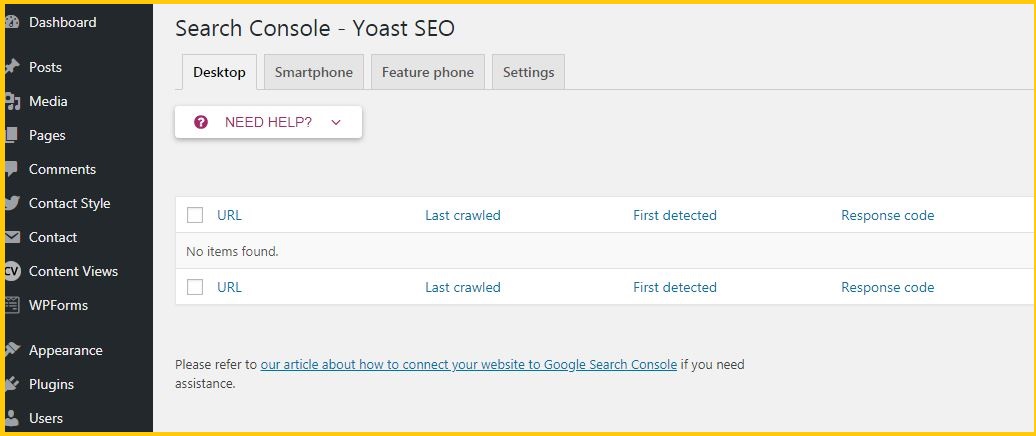
This way you can see crawl errors related to your website.
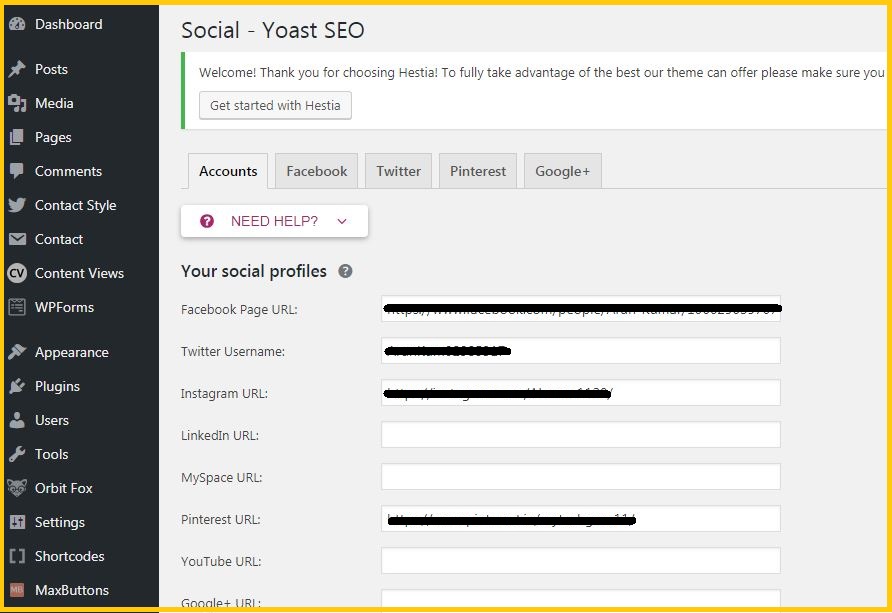
SEO-Social
Yoast SEO plugin also integrates your site with Facebook, Twitter, and Google+ social platforms.
Accounts
First tab here is accounts where you can set all your social accounts. It allows Yoast SEO to tell Google about your social profiles. you can add the URLs of Facebook, Instagram, and other social accounts and Twitter username of the main social profiles of your website.
SEO-Tools
Here we have three tools e.g. Bulk Editor, File Editor, and Import and Export.
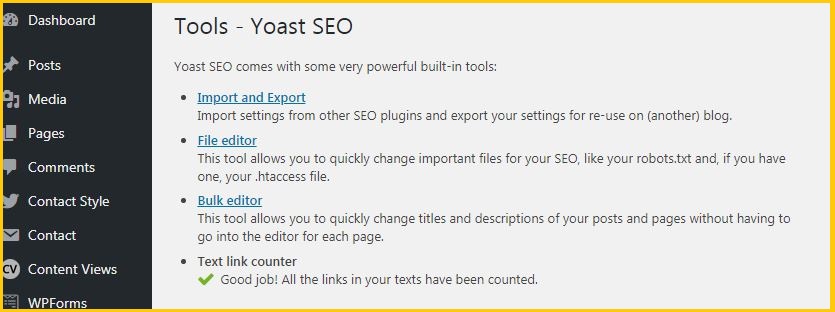
In Bulk Editor allows you to quickly change titles and descriptions of your posts and pages without having to go into the editor for each and every page.
File Editor allows you to quickly change important files for your SEO, like your robots.txt and .htaccess file.
Import settings from other SEO plugins and export your settings for re-use on (another) blog or website.
Also Read:
- How to add Meta Description and Keywords to a WordPress Website for better SEO Ranking
- 5 Must Have WordPress Plugins
- How to set up Breadcrumbs in WordPress
- How to Fix HTTP Error while uploading video files in WordPress


Hi there.
Nice article.
Thanks