[wpseo_breadcrumb]
How to install XAMPP Server on a Windows Computer
Installation of XAMPP server on a Windows machine is not at all difficult. There are certain steps to be followed in a particular sequence and little bit configuration. That’s it. You can easily host your wordpress website on local host installed with XAMPP. Once everything is in place, it’s a breeze to run a WordPress website locally.
What is XAMPP
XAMPP is a web server which stands for cross-platform, Apache, MySQL, PHP and Perl. It’s a simple and lightweight solution that allows you to create a local web server for running PHP pages and hosting WordPress websites locally. You can host multiple websites on a single server in the local environment.
XAMPP is cross-platform and it works smoothly with other operating systems like Linux & Mac.
WordPress isn’t a stand-alone application and requires a dedicated server in order to run. XAMPP provides the necessary environment needed to run WordPress website on a local machine.
XAMPP can be used because of the following Reasons:
It gives the flexibility to provide everything which you need to make a Live Web server, and it can be used for developments and build projects on your localhost.
Internet Connection not required. (so, PHP based projects can run without internet connectivity)
1. It is free of cost and Portable, so can be taken anywhere using Pen drive.
2. Installation is very easy. Registration/Purchase not required.
3. Start and Stop through the control panel on a single mouse click.
4 Strict security settings & PHP errors are shown by default.
5. Filezilla, Tomcat & Mercury on one click start/stop.
6. Unique Local Web Server (localhost).
XAMPP Installation
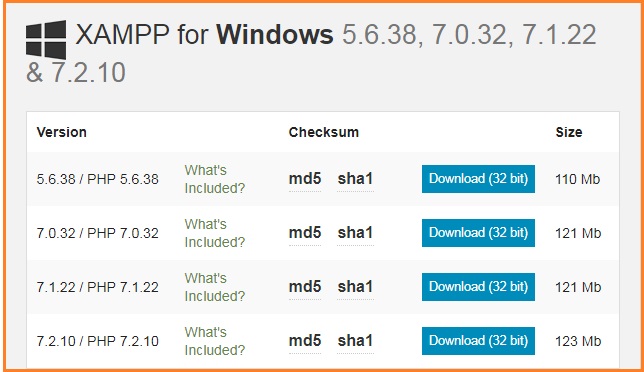
Go to the Apache Friends website and download XAMPP.
Download the latest XAMPP Server installation file which is 123 MB. Once downloaded, run the installer for installation.
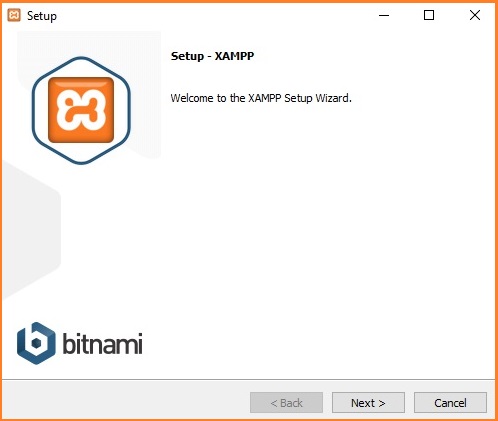
Launch the installation, At the beginning of the installation process some warning messages will be shown, ignore them by clicking on “Yes”.
The XAMPP setup wizard itself will guide you through the installation. Click on Next.
Installation Continues…
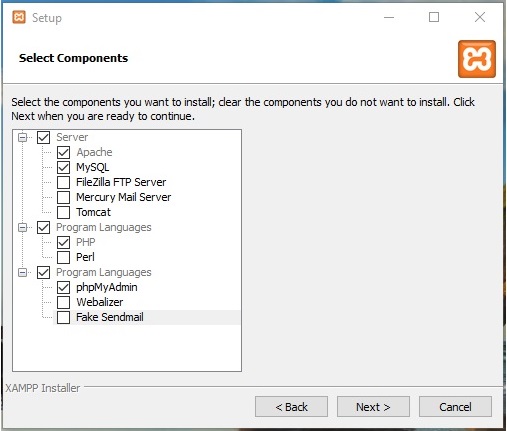
Now it will ask you to select the software components you want to install. Some options, such as Apache and PHP are essential for running the software and will be installed automatically, so they are grayed out so you can’t select them.
Now as we want to run WordPress on the localhost environment, leave MySQL and phpMyAdmin checked and uncheck the remaining options as shown in the picture.
Next, select the folder where you want to install XAMPP on your machine. I’m going to install in the default folder C:\XAMPP. After going through all these initial installation steps, XAMPP is now finally ready to install. Click Next.
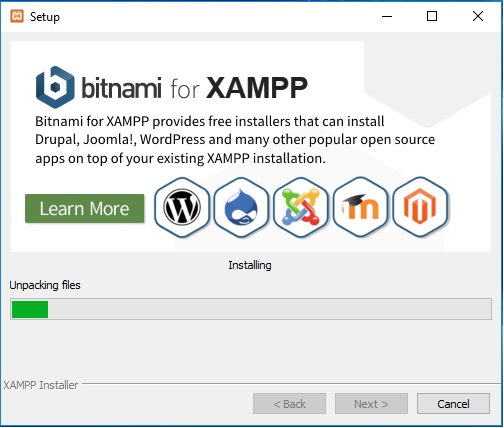
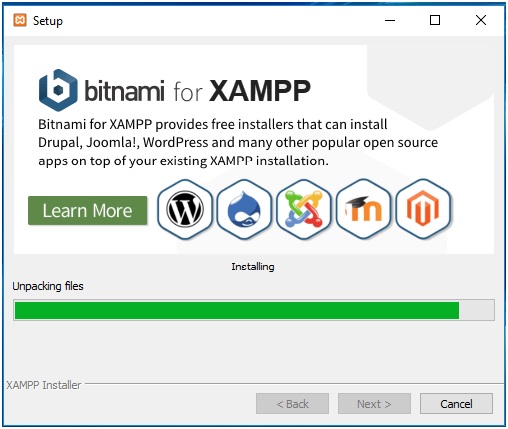
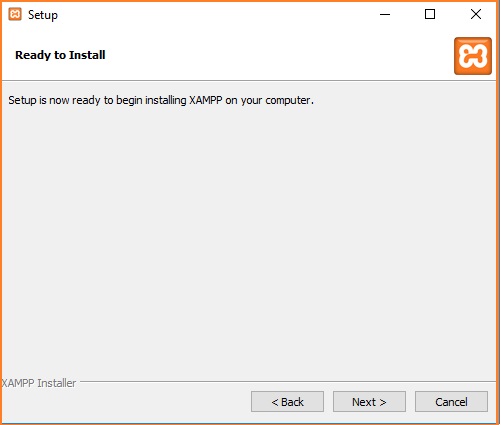 XAMPP Installation will continue for a while.
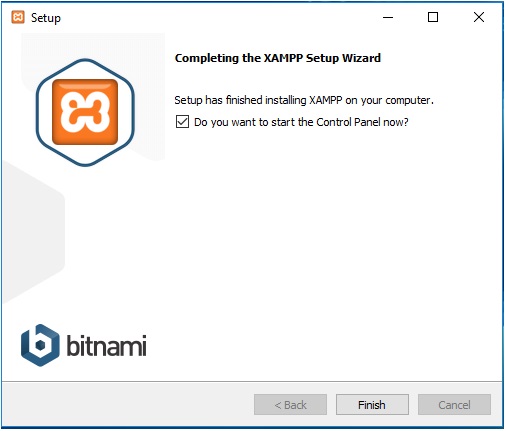
After installation, Leave the option “Do you want to start the control panel now?” ticked and click on Finish.
The Control Panel will automatically open, but if you unchecked the option in the previous window, you can go to the XAMPP folder on your computer and launch XAMPP Control Panel manually.
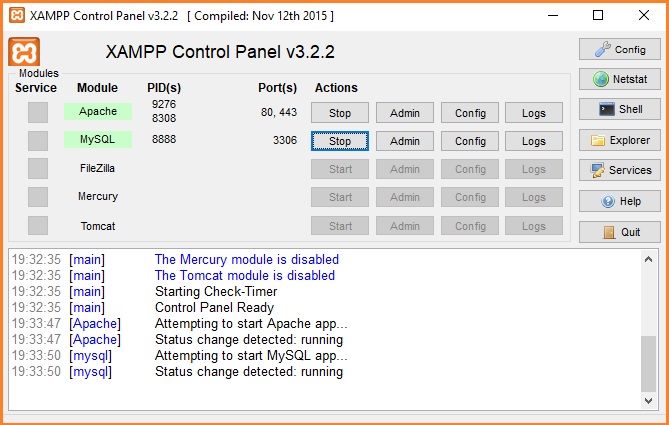
If the installation process went well and everything is running smoothly, the control panel will open with black and blue text updates at the bottom. like the picture below.
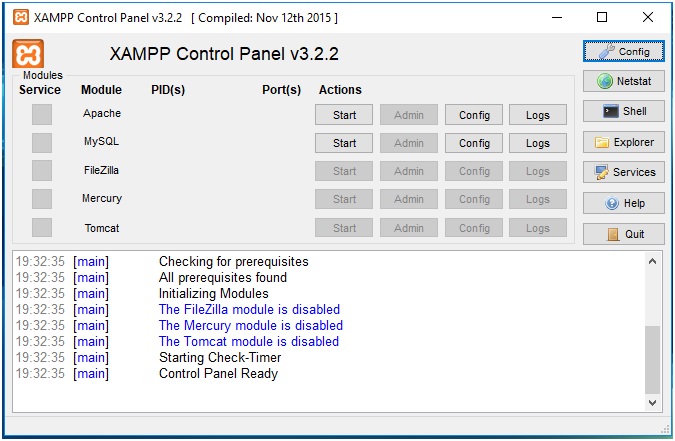 You can start Apache and MySQL from this screen. After starting the picture will look like
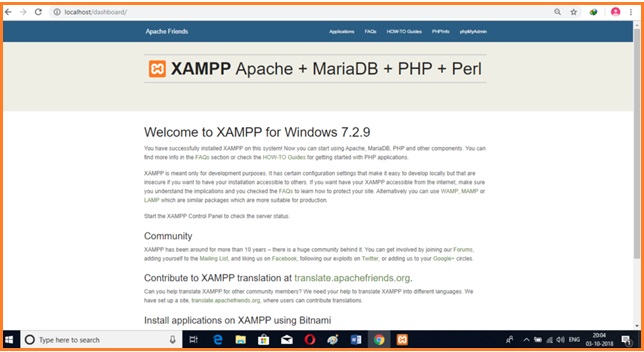
Now the server started and ready to run PHP pages and WordPress website. Check it by typing http://localhost/ in any browser. the dashboard will appear like the picture below. So you have successfully installed XAMPP server.
Also Read:
How to set up Breadcrumbs in WordPress
How to fix iThemes Security Lockouts
How to install and set up Yoast SEO plugin in WordPress
How to HTTP Error while uploading video files to WordPress
How to increase your website speed significantly with the help of 4 plugins

